2017/09/21Tsukurot

Tsukurot at the Gift Show

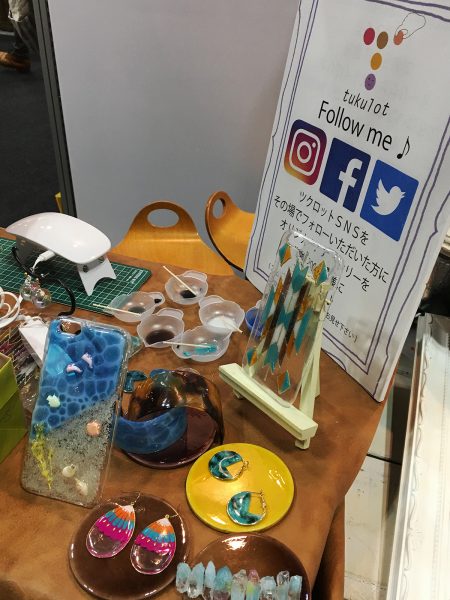
The other day I went to the gift show held at Big Sight.

This is Tsukurot's booth, which is showing videos showing the process of making lovely accessories.

At Hype, we are happy to help with the operation of the event.

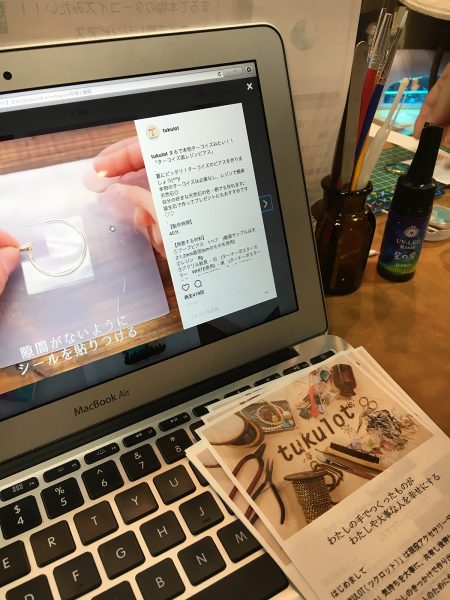
This video, in which professional accessory designers and craftsmen show the process of making accessories, is gradually gaining more and more views!

IMG_1197

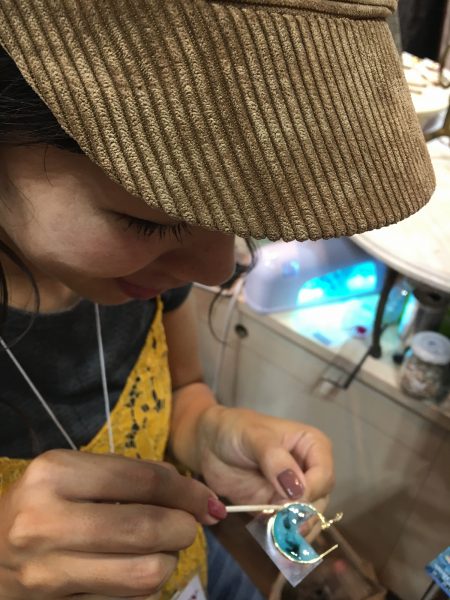
To commemorate our visit to the booth (maybe), Hype staff had the chance to try their hand at making some accessories!

IMG_1199
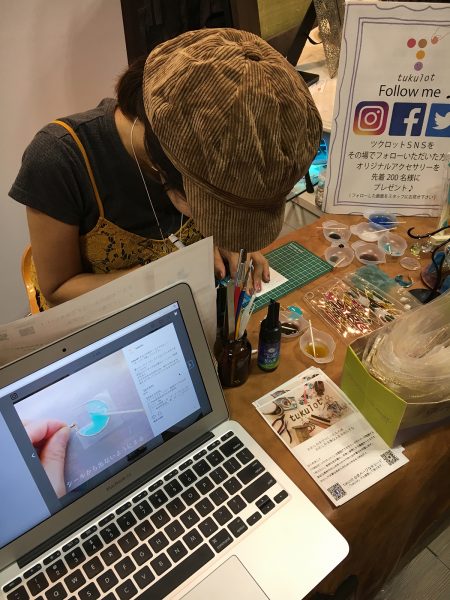
The video is sped up so it looks like it's done in no time, but it actually takes 40 minutes!

It seems like it's not going to be that easy.

IMG_1200
However, once you get the hang of it, it's smooth sailing!

Put it in and take it out of the light that hardens the UV resin.

IMG_1202

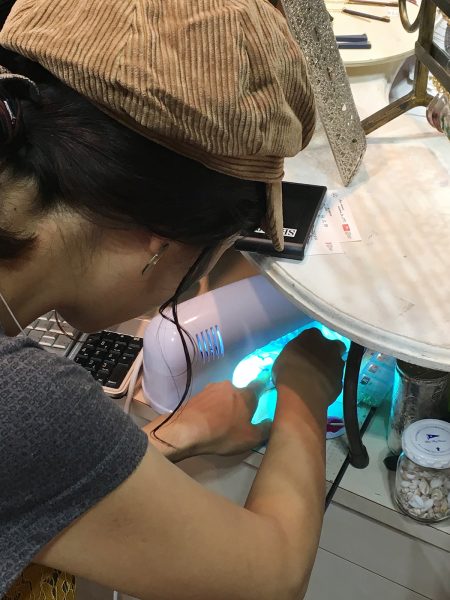
I saw UV resin for the first time, which is very popular in the Tsukurot video.

You can use acrylic paint to change the colour you like and make all kinds of accessories.

This is fun.

It was a shock to me since the only accessory I knew that hardened by applying heat was to bake plastic sheet in a toaster.

IMG_1206

Tsukurot also plans to hold workshops in various locations and sell accessory kits.

For inquiries
Mr. Rouge Bran
http://rougeblanc.jp/

If you have any questions about the video, please feel free to contact us.

The video I used as a reference this time is here ↓

It looks just like real turquoise!! "Turquoise-like resin earrings" are perfect for summer! Let's make turquoise earrings (^^)/ You don't need real turquoise, just resin and make natural stones◎ You can also make your favorite natural stone color and pattern♪ It's also recommended to make it with your birthstone as a gift♡♡ . [Production time] 40 minutes. . [Materials to prepare] ① Hoop earrings 1 pair (The video sample uses 1.2mm thick and 3cm diameter hoop earrings) ② 8g resin. ③ Acrylic paint ・White (Turner Poster Color WHITE used) ・Black (Turner Poster Color BLACK used) ・Turquoise blue (Liquitex Cobalt Teal used) ④ Transparent glossy film label stickers 2 sheets (one sheet 3.5 x 3.5 cm is enough) . [Tools to prepare] ① UV light (UV light reference price 1680 yen amazon) ② Silicone mat (100 yen shop) ③ Toothpick. ④ Scissors. ⑤ Cutter knife. ⑥ Cutting mat. ⑦ Pen. ⑧ Ruler. . [How to make] ① Cut 1.5 x 1.75 cm from the label sticker 3.5 x 3.5 cm. ② Mix acrylic paint and resin to make white, black, and turquoise blue. ③ Stick the label sticker on the earrings and place turquoise blue on top. ④ Irradiate for 3 to 5 minutes. ⑤ Remove when it hardens and place a thin layer of clear resin on top. ⑥ Place the white and black colors you made and adjust with a toothpick. ⑦ Irradiate for 3 to 5 minutes. ⑧ Remove when it hardens and place clear resin on the back. ⑨ Irradiate for 3 to 5 minutes, and remove when it hardens. . [Tips and Points] ◎ Make sure the label sticker is firmly attached to the hoop earrings so that the resin does not leak. ◎ Remove air bubbles with tweezers (toothpick) so that no air bubbles remain in the resin. ◎ Be sure to remove the resin after it has hardened. ◎ Make it so that the side without the handle is on the inside when worn. ◎ Mix the acrylic paint thoroughly into the resin to avoid lumps. ◎If you put in too much acrylic paint, it will not harden properly. Be careful not to put in too much. #tukulot #tsukulot #DIY #Quick to make #Original #Easy #Handmade #accessories #Accessories #Earrings #Turquoise #Resin #Fashionable #Cute #Colorful #Connect with other DIY lovers #Artists #Designers #DIY Girls' Club #Inexpensive #100 Yen Shop #Handmade Videos #1 Minute Videos

A post shared by tukulot【ツクロット】(@tukulot) –


BACK